
What is needle felting?
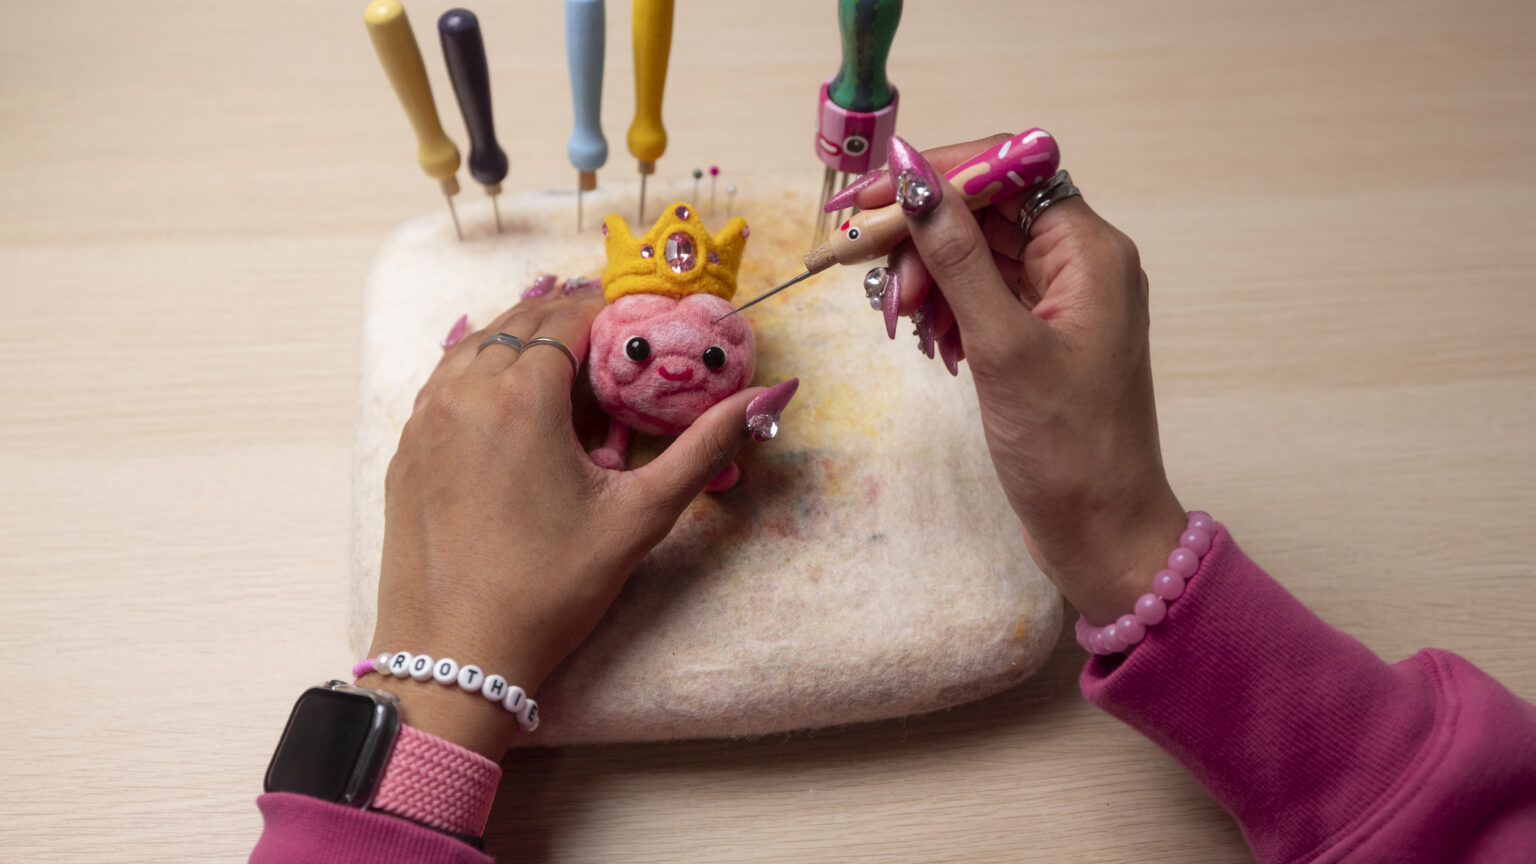
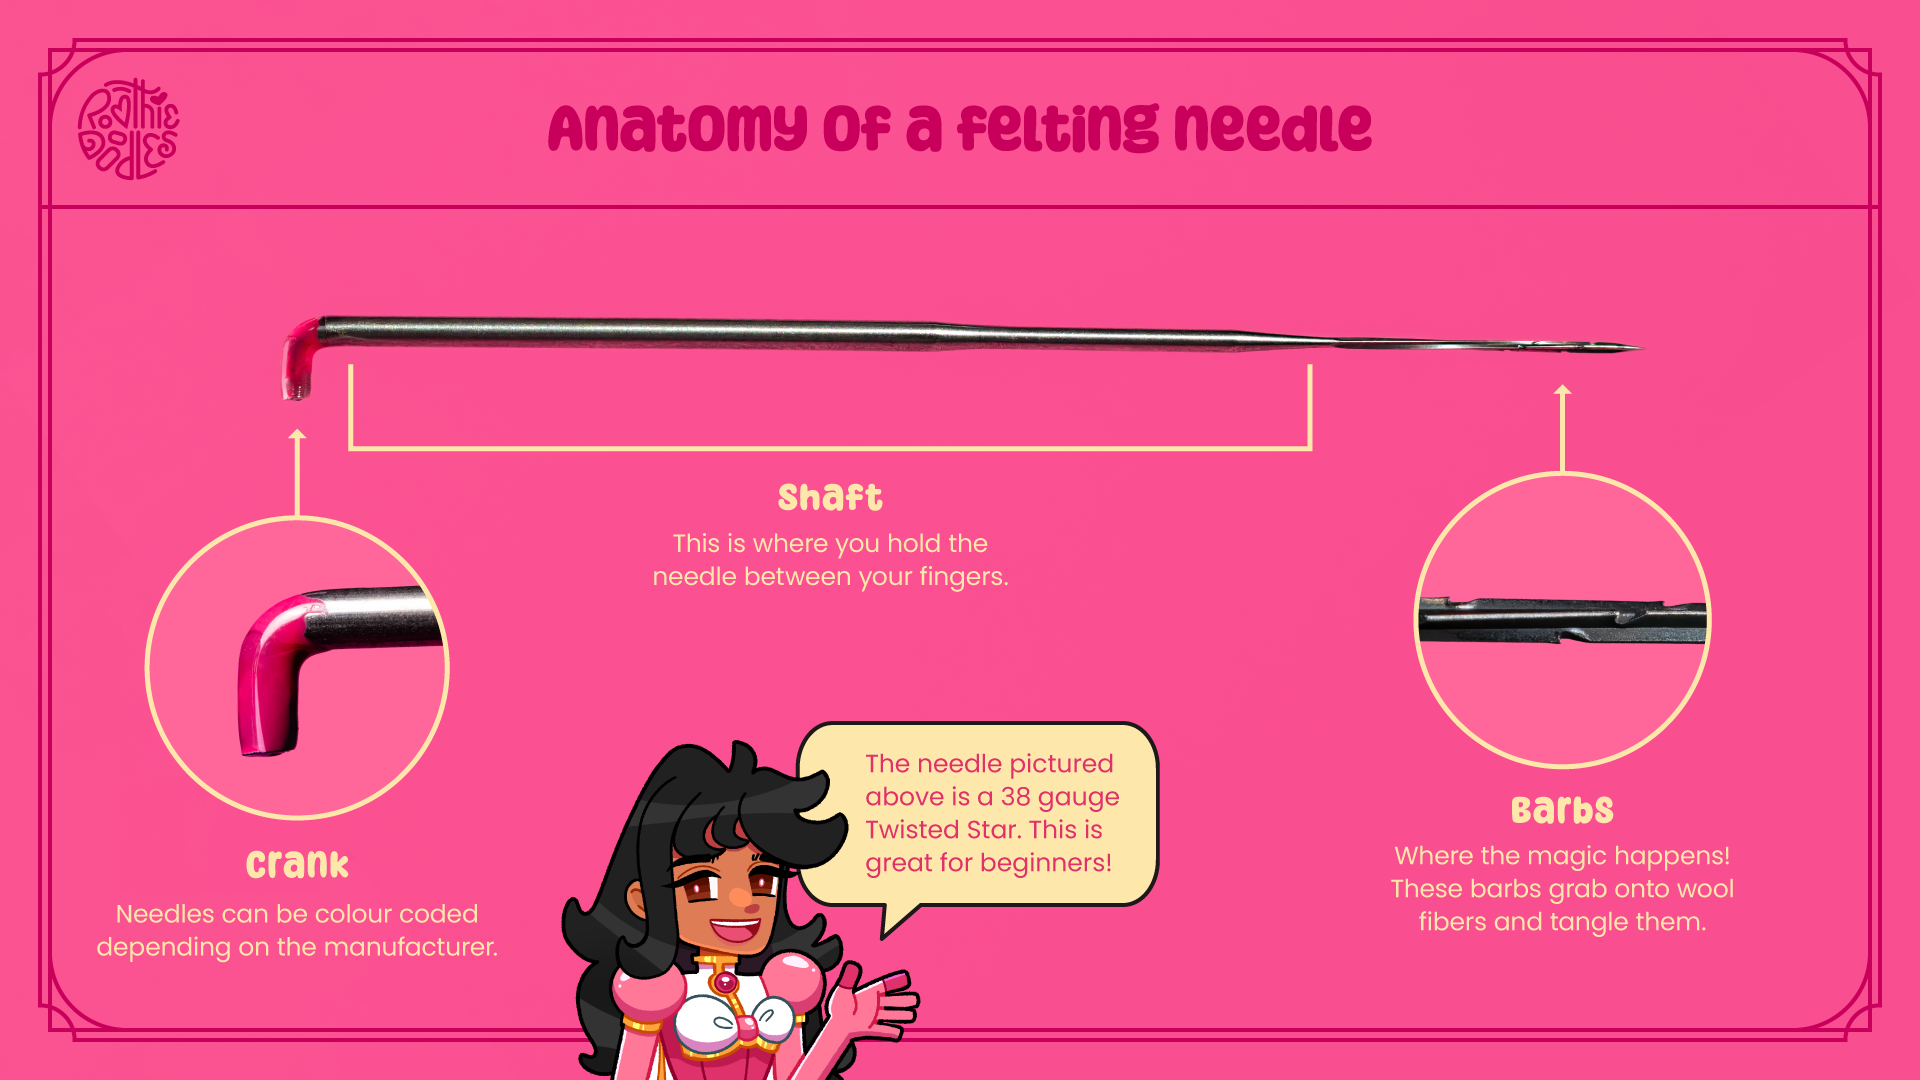
Needle felting is where you use a barbed needle to tangle wool until the fibres become matted together. The “barbs” on the needle catch the fibers and push them into the surrounding wool fibers. With enough intentional pokes, you can sculpt the wool into any shape!
What type of Wool should you use?
For needle felting sculptures I recommend using wool that has a micron above 23. Wool micron tells you how thick a single wool fiber is. The higher the micron number, the thicker the wool. Medium to coarser wool is better for needle felting because the barbs can catch the thicker fibers easily. Easier snagging equals faster felting. Thinner wool fibres do have their place in the felting world, but as a beginner–thicker is the way to go!
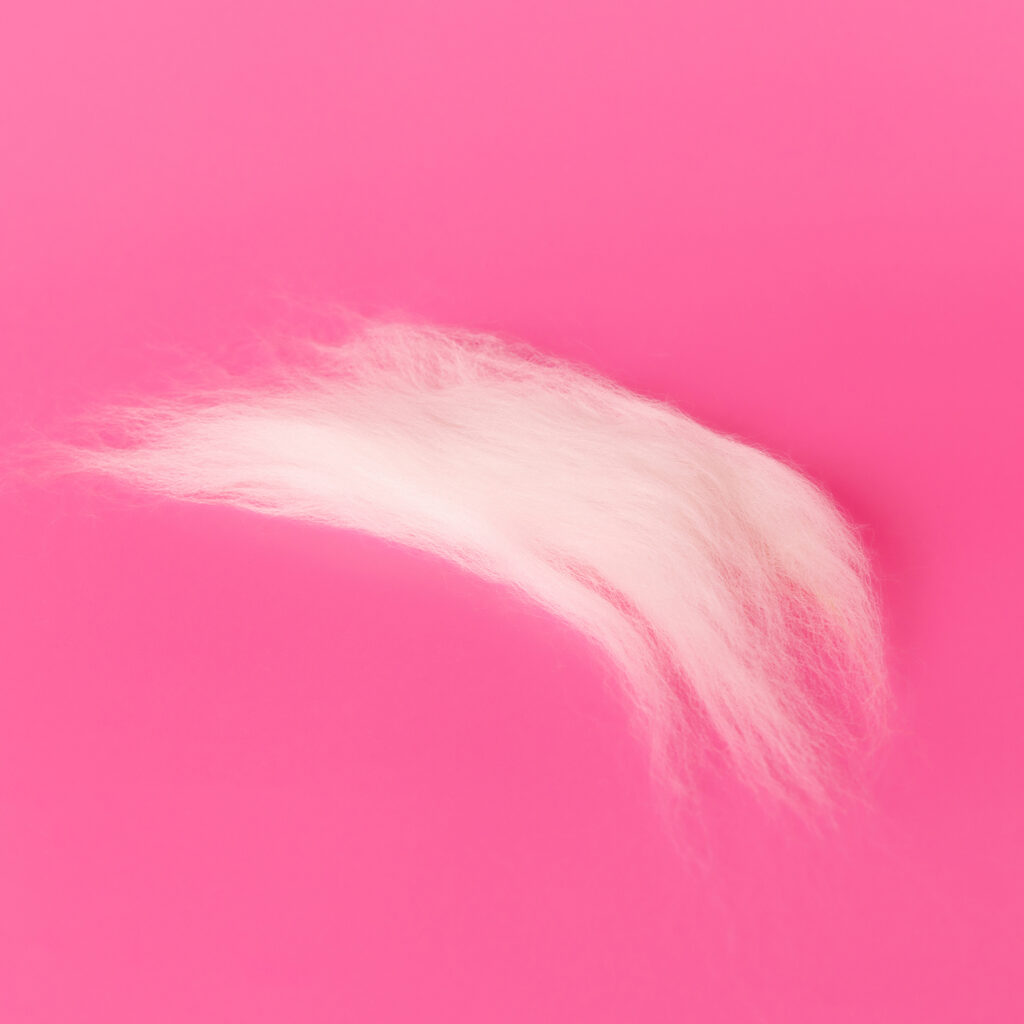
Tops / Roving Wool
Tops wool (or sometimes referred to as roving wool) is where all the wool fibres are facing one direction. It looks a lot like hair and it has a smooth, soft appearance. These are great for adding in fur or hair to your sculptures but I wouldn’t recommend them for building forms and bodies for your sculptures. Since all the fibres are facing the same direction, it’ll take twice as long to felt.
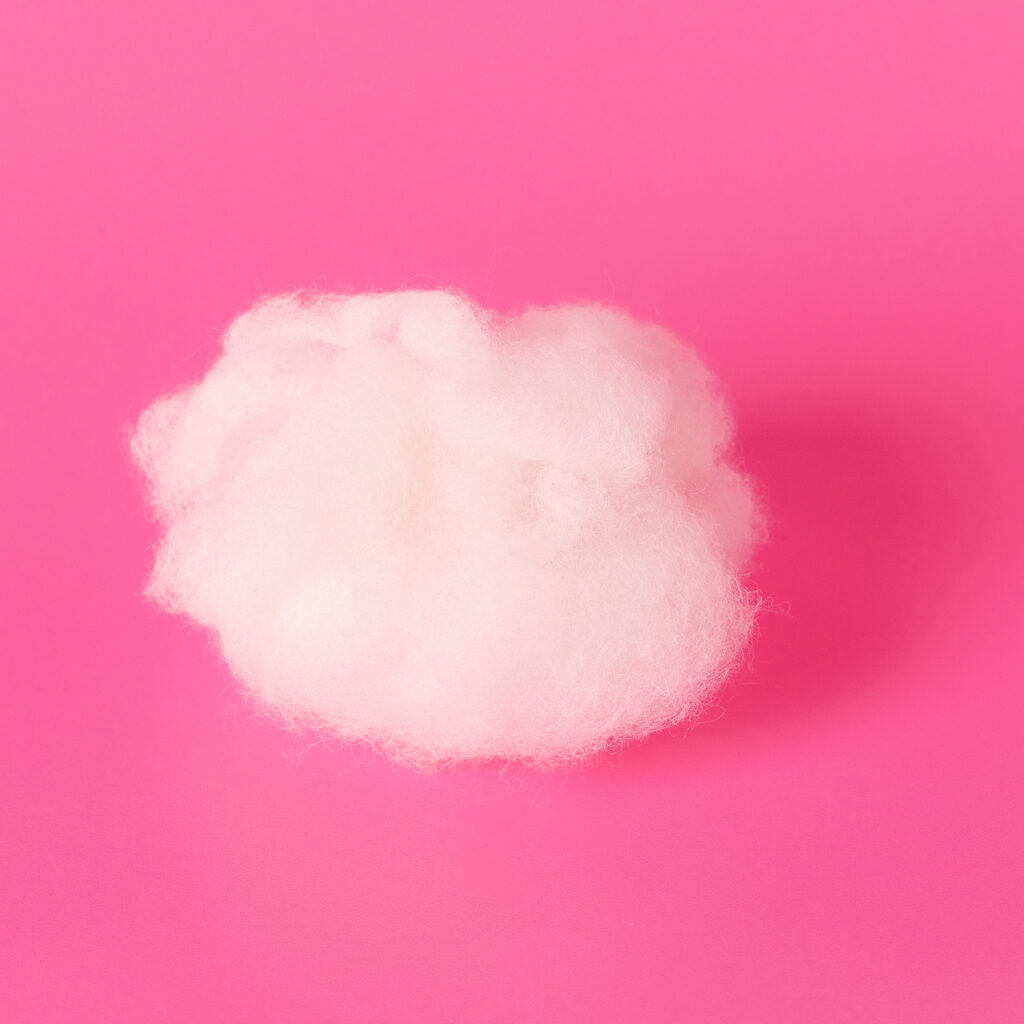
Carded Wool
Carded wool is a result of brushing the fibres with a tool called a carder. A carder is very similar to a cat comb. You use two going in opposite directions to blend the direction of the fibres so that they’re no longer all facing one direction. After carding, the fibres are going in all sorts of directions and this makes it very beginner friendly since some of the “felting” process is already started for you!
Think of Tops/Roving wool as your hair, Carded wool as tangled hair and felted wool as matted hair. Since carded wool is already halfway there to being matted, it makes sense as to why it’s faster to felt into a firmer shape!
What you’ll need to get started!
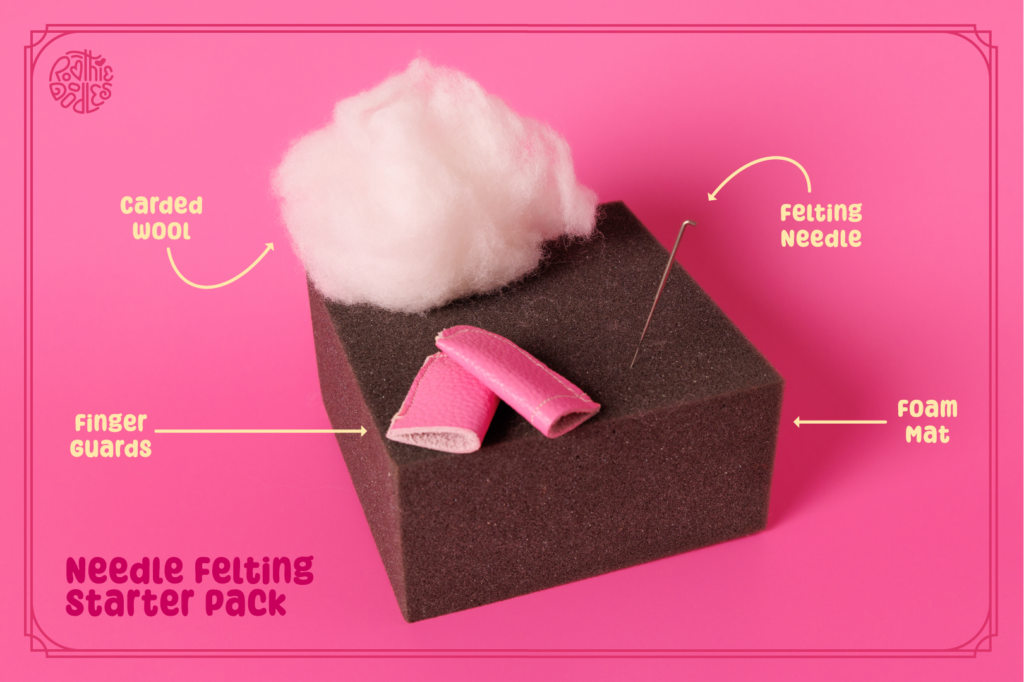
I know it’s really exciting to learn a new craft and be tempted to buy a whole slew of tools–BUT RESIST THE URGE! Always start with the bare minimum until you’re certain that needle felting is for you.
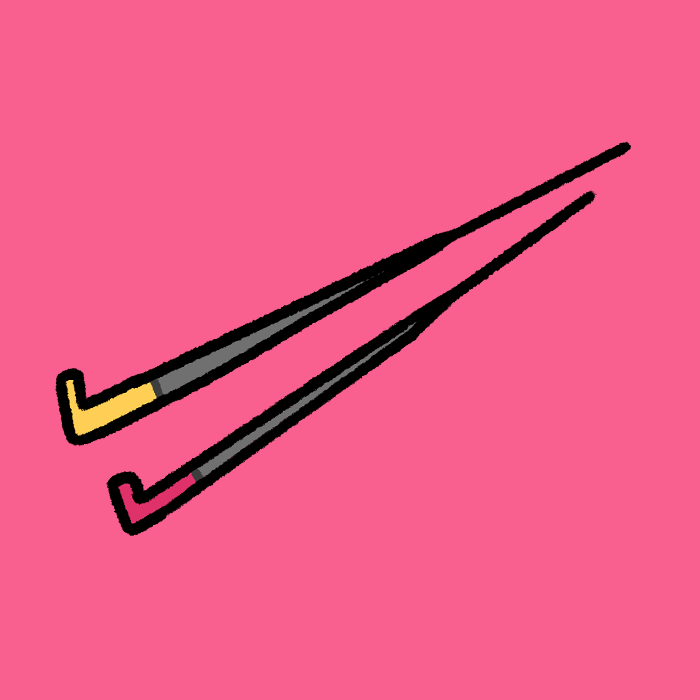
Felting Needles
You only need one needle to get started. A 36 or 38 gauge needle is a great universal needle that works well for most techniques. Once you’re ready to move on to more advanced projects you can expand your collection!
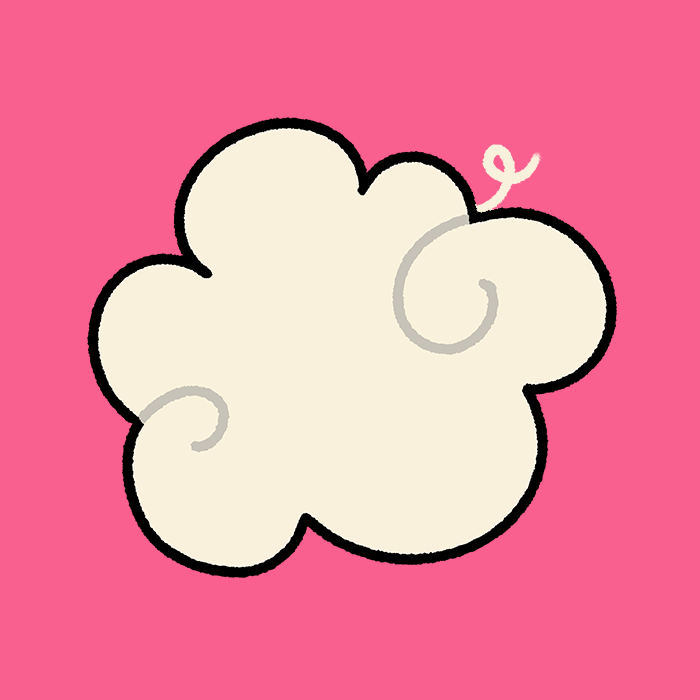
Wool
Carded Wool is extremely beginner friendly since it cuts your felting time in half. You can find packs of basic colours online or purchase 1-3 colours at your local felting store to try. When I first started, I picked up black, white and pink to try creating a cow.
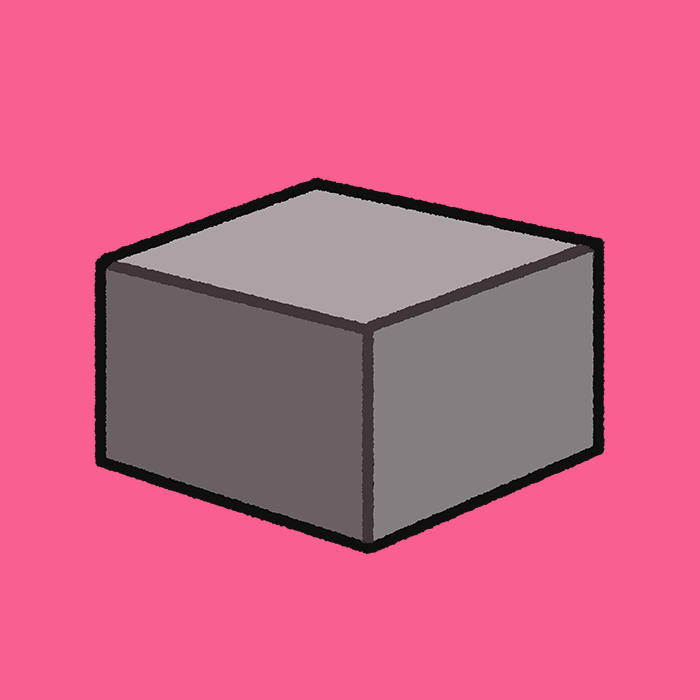
Mat
There are different types of needle felting mats but the most inexpensive one is a foam mat. It gets the job done and you can always invest in a better one down the road. Just make sure your mat is at least 3 inches deep. Needle felting needles are usually 3” long and you DO NOT want your needle poking through your mat and into your lap–ouch.
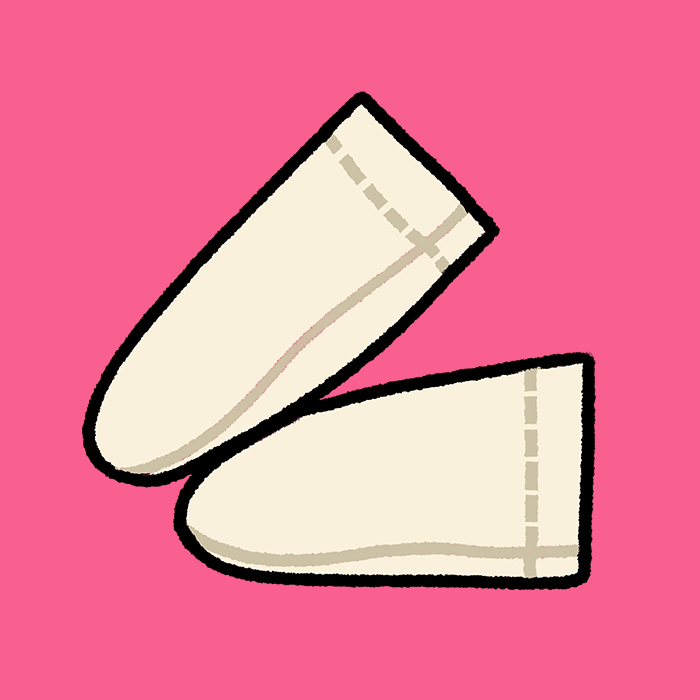
Finger Guards
It’s important to protect your thumb and index finger when needle felting. It’s easy to get carried away with the constant poking and accidentally hit your fingers. Trust me, it hurts A LOT. There are leather finger guards that you can find online made specifically for needle felting. Although very rare, needle stabs can sometimes cause infections so please make sure you’re up to date with your tetanus shots.
Needle Felting is a fun craft that requires patience. You’ll find yourself spending hours sculpting, but the results are very rewarding! In the beginning of felting, it’ll seem like nothing is happening but give it 5-10 minutes and you’ll soon see the fibres tangling and becoming firmer.